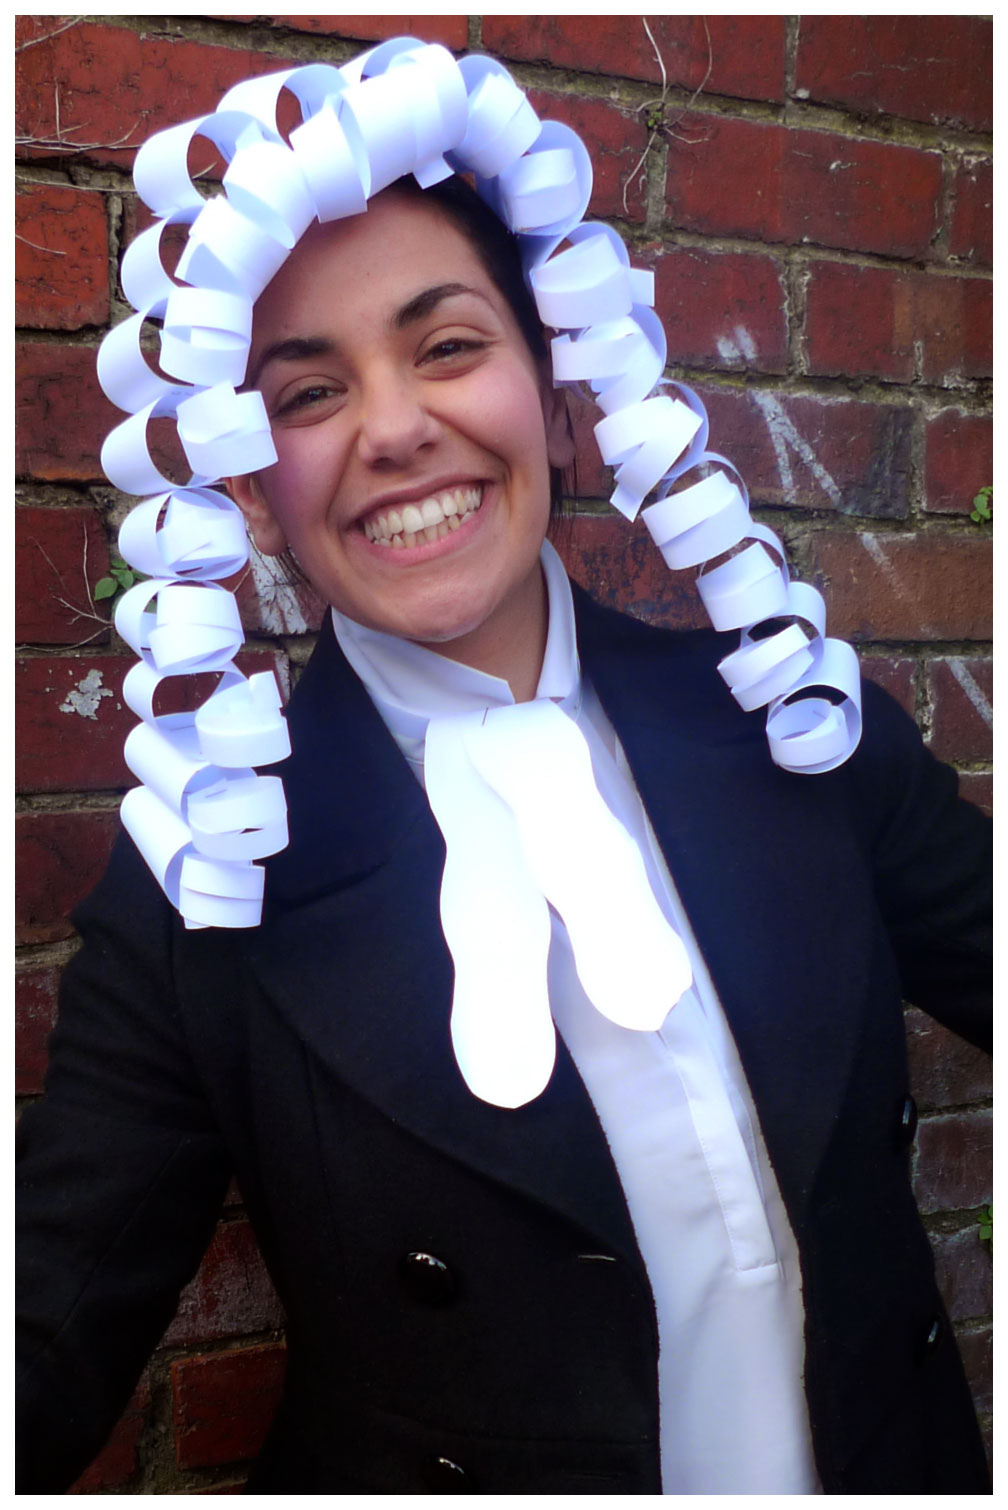
Welcome to the first of many How To’s where I will give you a step-by-step guide to creating costumes and props for costumes. Today I’m going to show you how to make a baroque wig out of paper which you would have seen in yesterday’s post.
What you’ll need
White A4 paper (7 pieces)
Pencil
Ruler
Scissors
Stapler
Sticky tape
Method
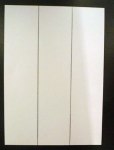
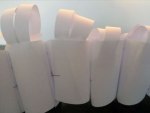
1. Get an A4 piece of white paper
2. Measure points at 7cm and 14cm so that you can equally split into thirds.
3. Cut the piece of paper into thirds.
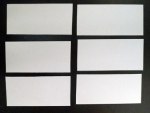
4. Fold the three pieces in half and then cut so that you have 6 pieces of paper total.
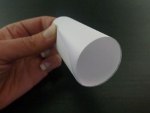
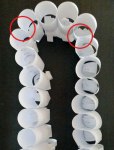
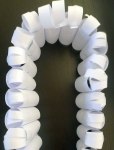
5. Take one piece of paper and bend it so that you make a circle shape and then staple it into place. This cylinder shape that you have made will become the main curls of the wig.
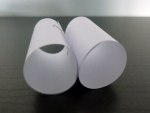
6. Continue process 4 and 5 until you have 20 cylinders (6 pieces of paper will make 24 cylinders)
7. Now start to staple the cylinder pieces together. For the eighth piece stapled the pieces slightly at an angle so that you start to round around and cater for the shape of your head. I found that 6 cylinders wide would comfortably fit the round of my head.
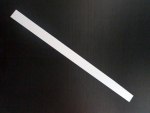
8. Once you have finished the skeleton of the wig, you will then need to add the front curl shapes. To do this cut a 1 cm strip length ways of an A4 piece of paper.
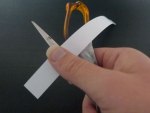
9. We will then curl this strip of paper in the same way you can ribbon. To do this angle a scissor blade against your strip of paper and then slide the scissor blade along the length of the strip keeping it taut the whole time. When you release, you will find that the ribbon will curl into a circle shape within itself. Staple into shape and make 20 of these.
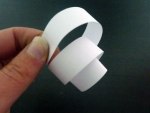
10. Position the curled paper so that the it sits horizontally across the cylinder open circle and tape into place on the side. Do this for every cylinder shape.
11. Voila! You now have a home-made baroque wig that you can then pin onto your head and for virtually no money!